Installation
Cyberstrike can be installed through multiple package managers. Choose the method that best fits your development environment.
npm (Recommended)
The recommended installation method for most users.
npm install -g @cyberstrike-io/cyberstrike@latestVerify the installation:
cyberstrike --versionBun Coming Soon
Bun support is not yet available.
Homebrew (macOS) Coming Soon
Homebrew support is not yet available.
curl (Linux/macOS)
Direct installation via shell script:
curl -fsSL https://cyberstrike.io/install | bashiwr (Windows/Powershell)
Run the installation script:
iwr -useb https://cyberstrike.io/install.ps1 | iexCaution
Always review installation scripts before executing them. The script source is available at github.com/CyberStrikeus/CyberStrike.
Docker
Caution
Docker image is coming soon. For now, use npm or curl.
Verifying Installation
After installation, verify Cyberstrike is working:
# Check versioncyberstrike --version
# List available commandscyberstrike --help
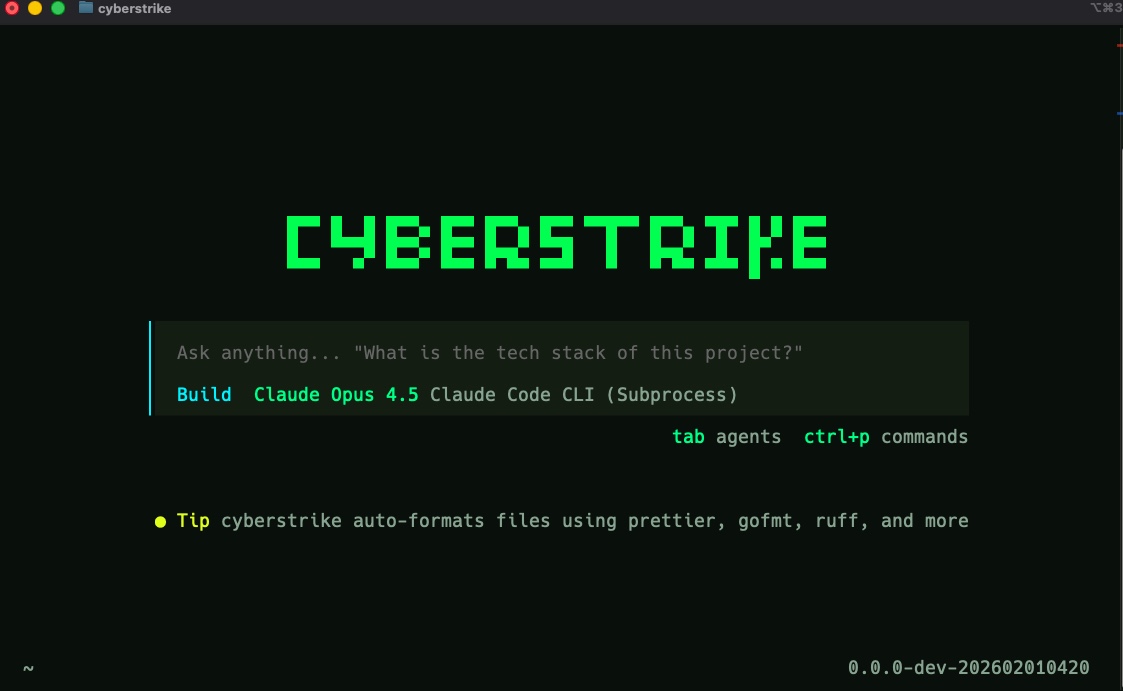
You should see the Cyberstrike banner and version number, followed by a list of available commands.
Updating Cyberstrike
Update to the latest version:
# npmnpm update -g @cyberstrike-io/cyberstrike@latest
# Self-update (recommended)cyberstrike upgrade
Uninstalling
Remove Cyberstrike from your system:
# npmnpm uninstall -g @cyberstrike-io/cyberstrike@latestConfiguration is stored in ~/.config/cyberstrike/ (credentials live in ~/.local/share/cyberstrike/) and can be removed manually if needed.
Troubleshooting
Command Not Found
If cyberstrike is not found after installation:
- Check your PATH includes npm global bin directory
- Restart your terminal
- Run
npm bin -gto find the global bin path
Permission Errors
On Linux/macOS, if you encounter permission errors:
# Fix npm permissionsmkdir ~/.npm-globalnpm config set prefix '~/.npm-global'echo 'export PATH=~/.npm-global/bin:$PATH' >> ~/.bashrcsource ~/.bashrcVersion Conflicts
If you have multiple Node versions:
# Use nvm to manage versionsnvm use 20npm install -g @cyberstrike-io/cyberstrike@latestCorporate Networks (SSL Inspection / Zscaler)
On a corporate network with an SSL-inspection proxy (Zscaler, Netskope, and similar), outbound HTTPS is intercepted and re-signed with the company’s own root certificate. If Cyberstrike doesn’t trust that certificate, TLS verification fails and you’ll see errors such as:
error: unable_to_get_issuer_cert_locally downloading package manifest @cyberstrike-io/pluginhackbrowser:navigator TypeError: unable to get local issuer certificate — planPage failed, retrying onceThe HackBrowser crawler is especially affected: its planner calls fail, so the crawl explores only a handful of pages and stops early.
Fix — trust your corporate root CA via NODE_EXTRA_CA_CERTS. The corporate root is already in your OS trust store (that’s why your browser works), so export the store to a PEM bundle and point Cyberstrike at it. This propagates to the HackBrowser worker automatically.
Windows (PowerShell) — export every machine root CA (the corporate one is included, no need to identify it):
$out = "$env:USERPROFILE\corp-ca.pem"Get-ChildItem Cert:\LocalMachine\Root | ForEach-Object {  "-----BEGIN CERTIFICATE-----"  [Convert]::ToBase64String($_.RawData, 'InsertLineBreaks')  "-----END CERTIFICATE-----"} | Set-Content -Encoding ascii $out
$env:NODE_EXTRA_CA_CERTS = $out # current sessionsetx NODE_EXTRA_CA_CERTS "$out" # persist for new sessionsmacOS:
security find-certificate -a -p /Library/Keychains/System.keychain > ~/corp-ca.pemsecurity find-certificate -a -p /System/Library/Keychains/SystemRootCertificates.keychain >> ~/corp-ca.pemexport NODE_EXTRA_CA_CERTS=~/corp-ca.pemThen run Cyberstrike in the same shell. The unable to get local issuer certificate errors should disappear and crawls should run to completion.
Tip
Quick check: Get-ChildItem Cert:\LocalMachine\Root | Where-Object { $_.Subject -like "*Zscaler*" } (Windows) confirms the corporate root is present in the store before you export it.
Caution
As a last-resort test only, NODE_TLS_REJECT_UNAUTHORIZED=0 disables certificate verification entirely and will also get you past the error — but it turns off TLS validation for all connections, so it is not recommended for regular use. Prefer NODE_EXTRA_CA_CERTS.