Getting Started
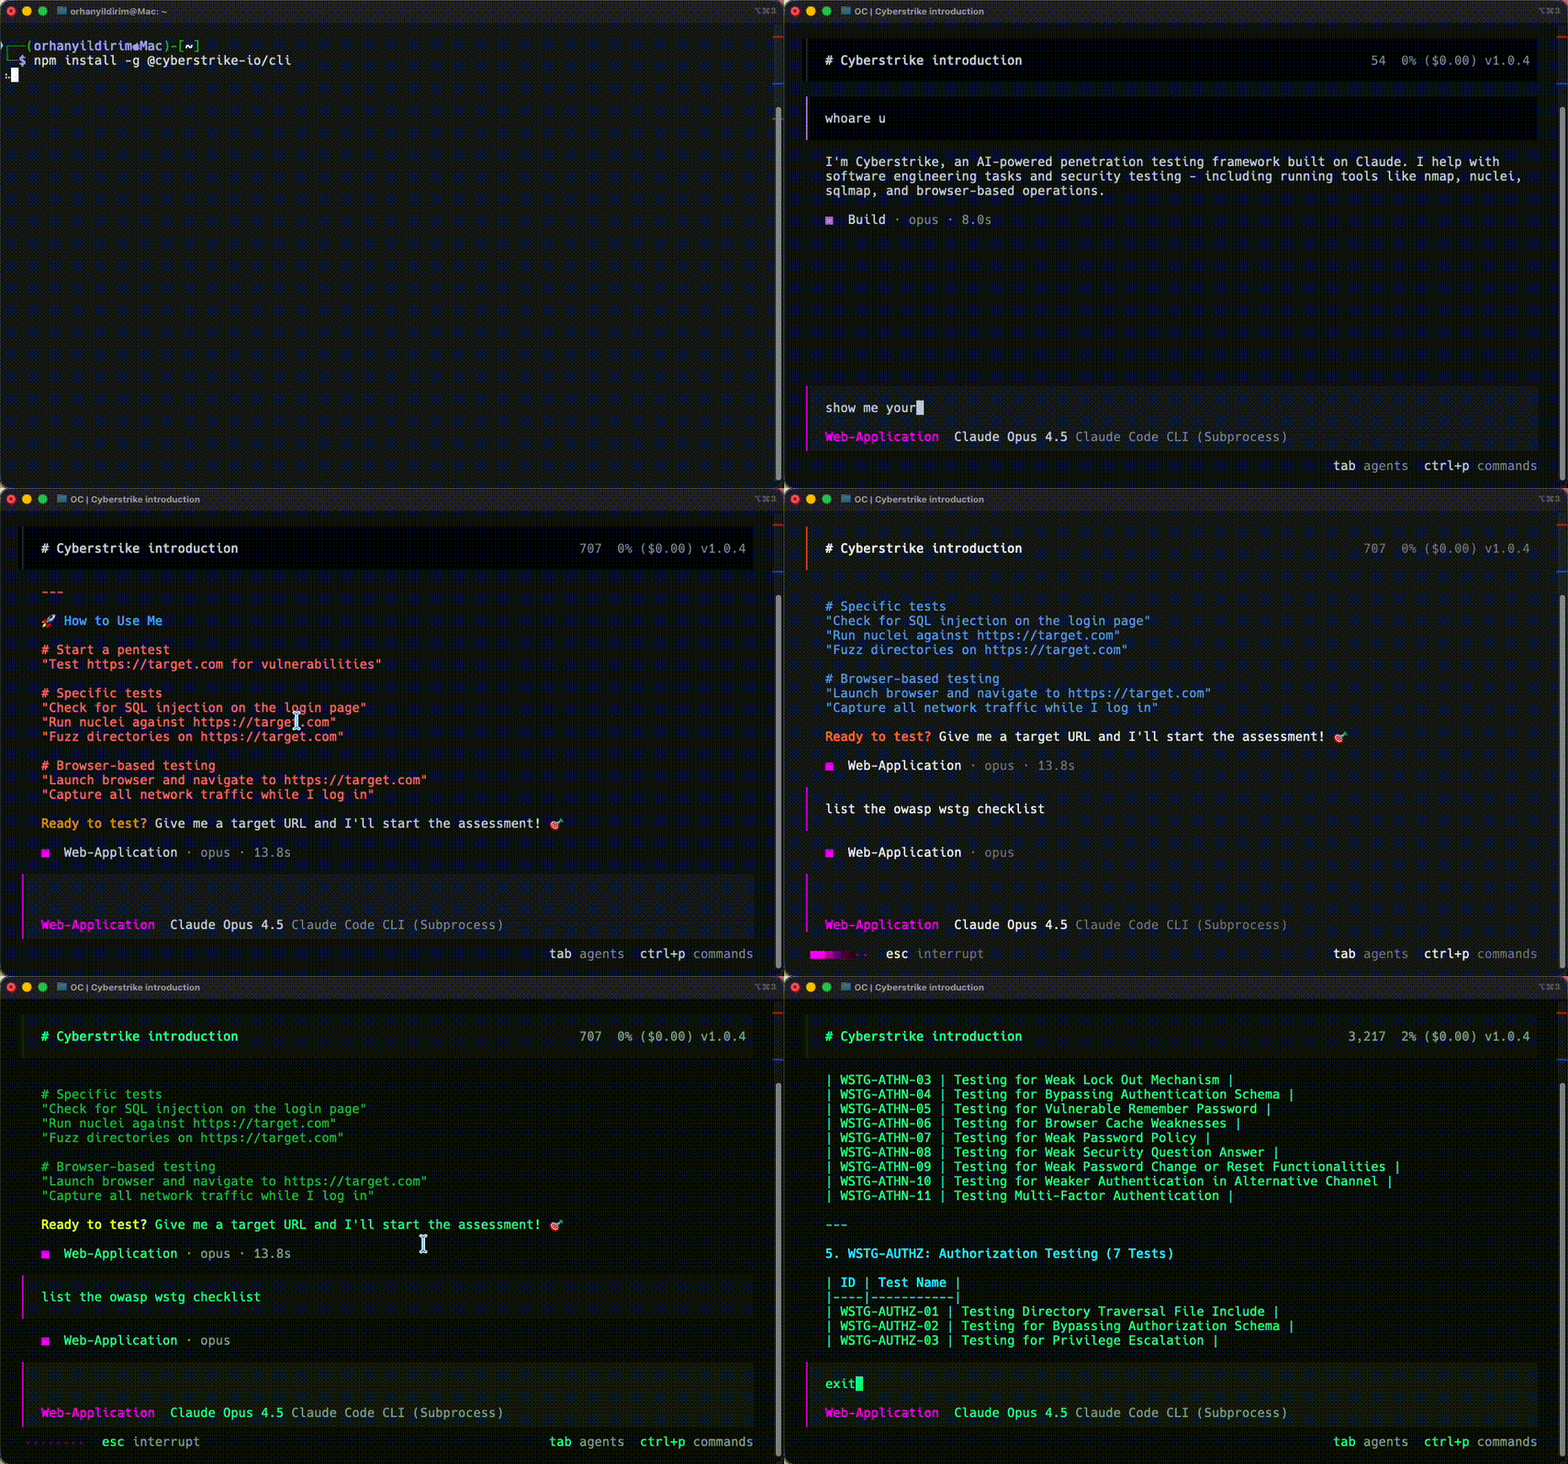
Cyberstrike is an AI-powered penetration testing agent that automates security assessments. This guide covers installation, authentication, and running your first scan.
System Requirements
Before installing Cyberstrike, verify your system meets these requirements:
| Requirement | Minimum | Recommended |
|---|---|---|
| Operating System | macOS 12+, Ubuntu 20.04+, Windows 10+ | macOS 14+, Ubuntu 22.04+ |
| RAM | 4 GB | 8 GB |
| Disk Space | 500 MB | 2 GB |
| Node.js | 18.0+ | 20.0+ |
Installing Cyberstrike
Choose your preferred installation method based on your operating system and package manager.
npm (Recommended)
- Open your terminal
- Run the installation command:
npm install -g @cyberstrike-io/cyberstrike@latest- Verify the installation:
cyberstrike --version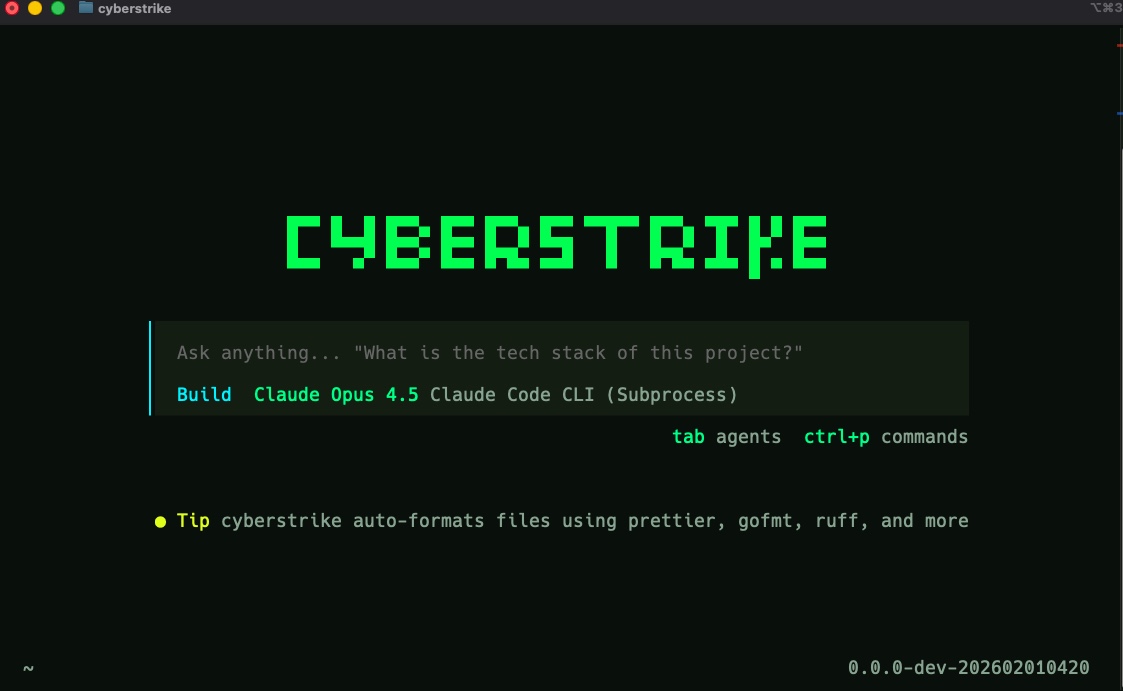
Bun Coming Soon
Bun support is not yet available.
Homebrew (macOS) Coming Soon
Homebrew support is not yet available.
curl (Linux/macOS)
Run the installation script:
curl -fsSL https://cyberstrike.io/install | bashiwr (Windows/Powershell)
Run the installation script:
iwr -useb https://cyberstrike.io/install.ps1 | iexCaution
Review scripts before executing them. The installation script is available at github.com/CyberStrikeus/CyberStrike.
Docker
Caution
Docker image is coming soon. For now, use npm or curl.
Authenticating with an AI Provider
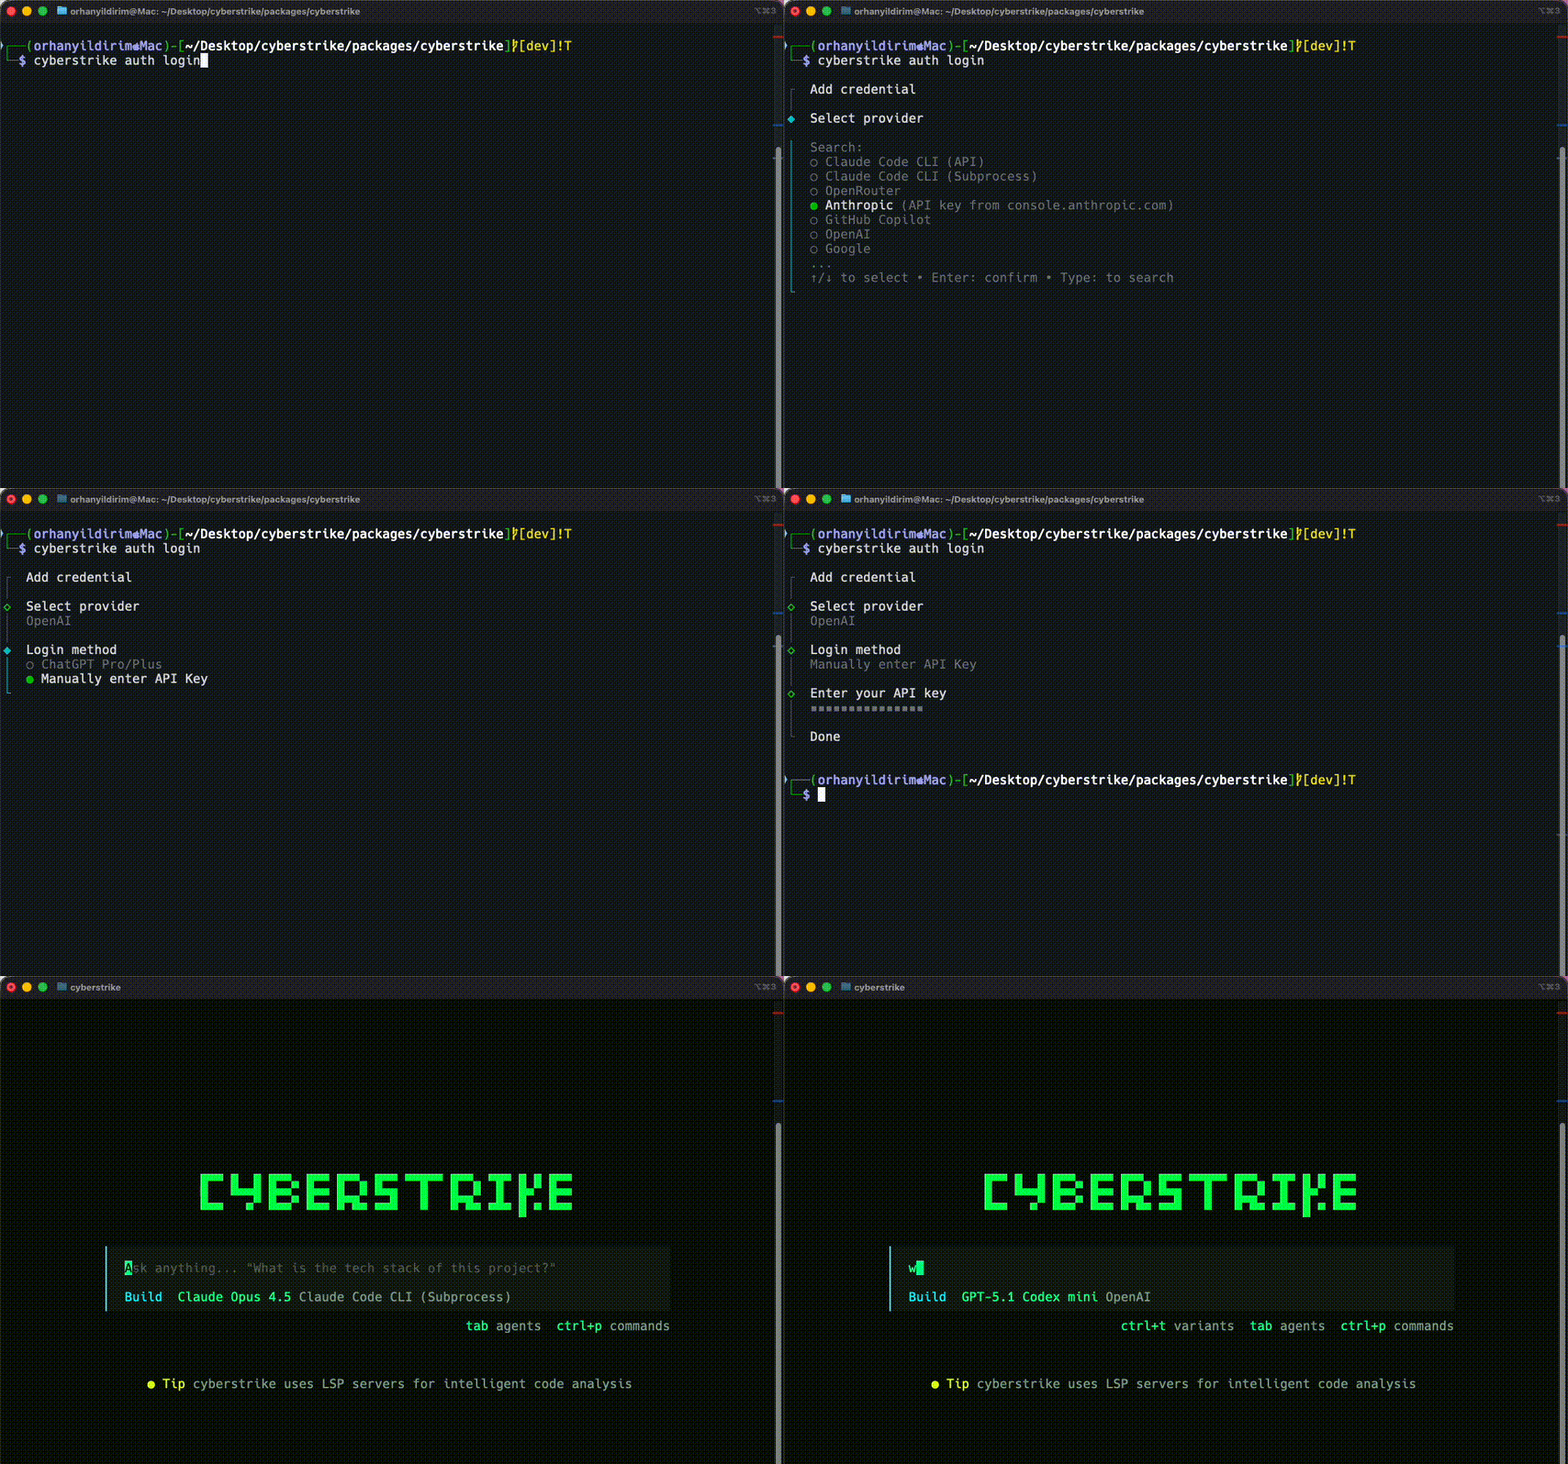
Cyberstrike requires an AI provider to function. The following providers are supported:
| Provider | Free Tier | API Key Required |
|---|---|---|
| OpenRouter | Yes | Yes |
| Anthropic | No | Yes |
| OpenAI | No | Yes |
| Google Gemini | Yes | Yes |
| Ollama | Yes (Local) | No |
Setting Up Authentication
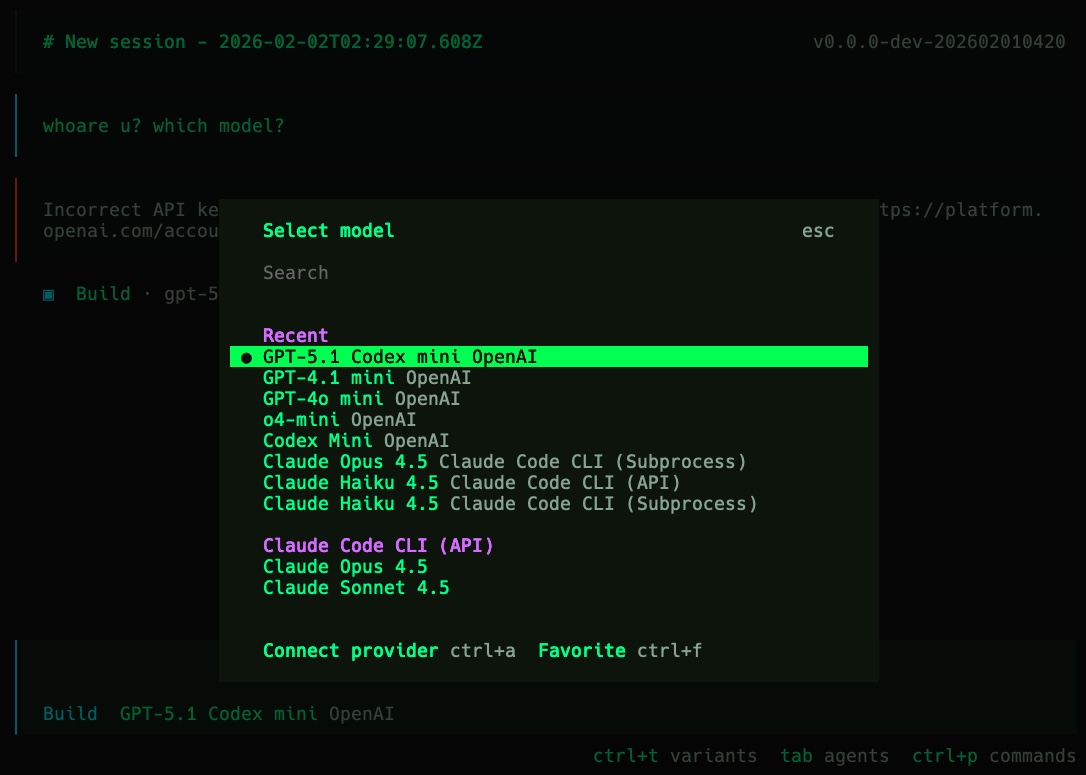
- Run the authentication command:
cyberstrike auth login- Select your provider from the list:
? Select provider❯ OpenRouter (free tier available) Anthropic (API key from console.anthropic.com) OpenAI (ChatGPT Plus/Pro or API key) Google (API key from ai.google.dev) Ollama (local models) OtherEnter your API key when prompted
Verify your credentials:
cyberstrike auth listUsing Environment Variables
Set API keys as environment variables instead of storing them:
# Anthropicexport ANTHROPIC_API_KEY="sk-ant-..."
# OpenAIexport OPENAI_API_KEY="sk-..."
# Googleexport GOOGLE_GENERATIVE_AI_API_KEY="AI..."
# OpenRouterexport OPENROUTER_API_KEY="sk-or-..."
Add these to your shell profile (~/.bashrc, ~/.zshrc) for persistence.
Running Your First Scan
Starting Interactive Mode
Launch Cyberstrike in your target directory:
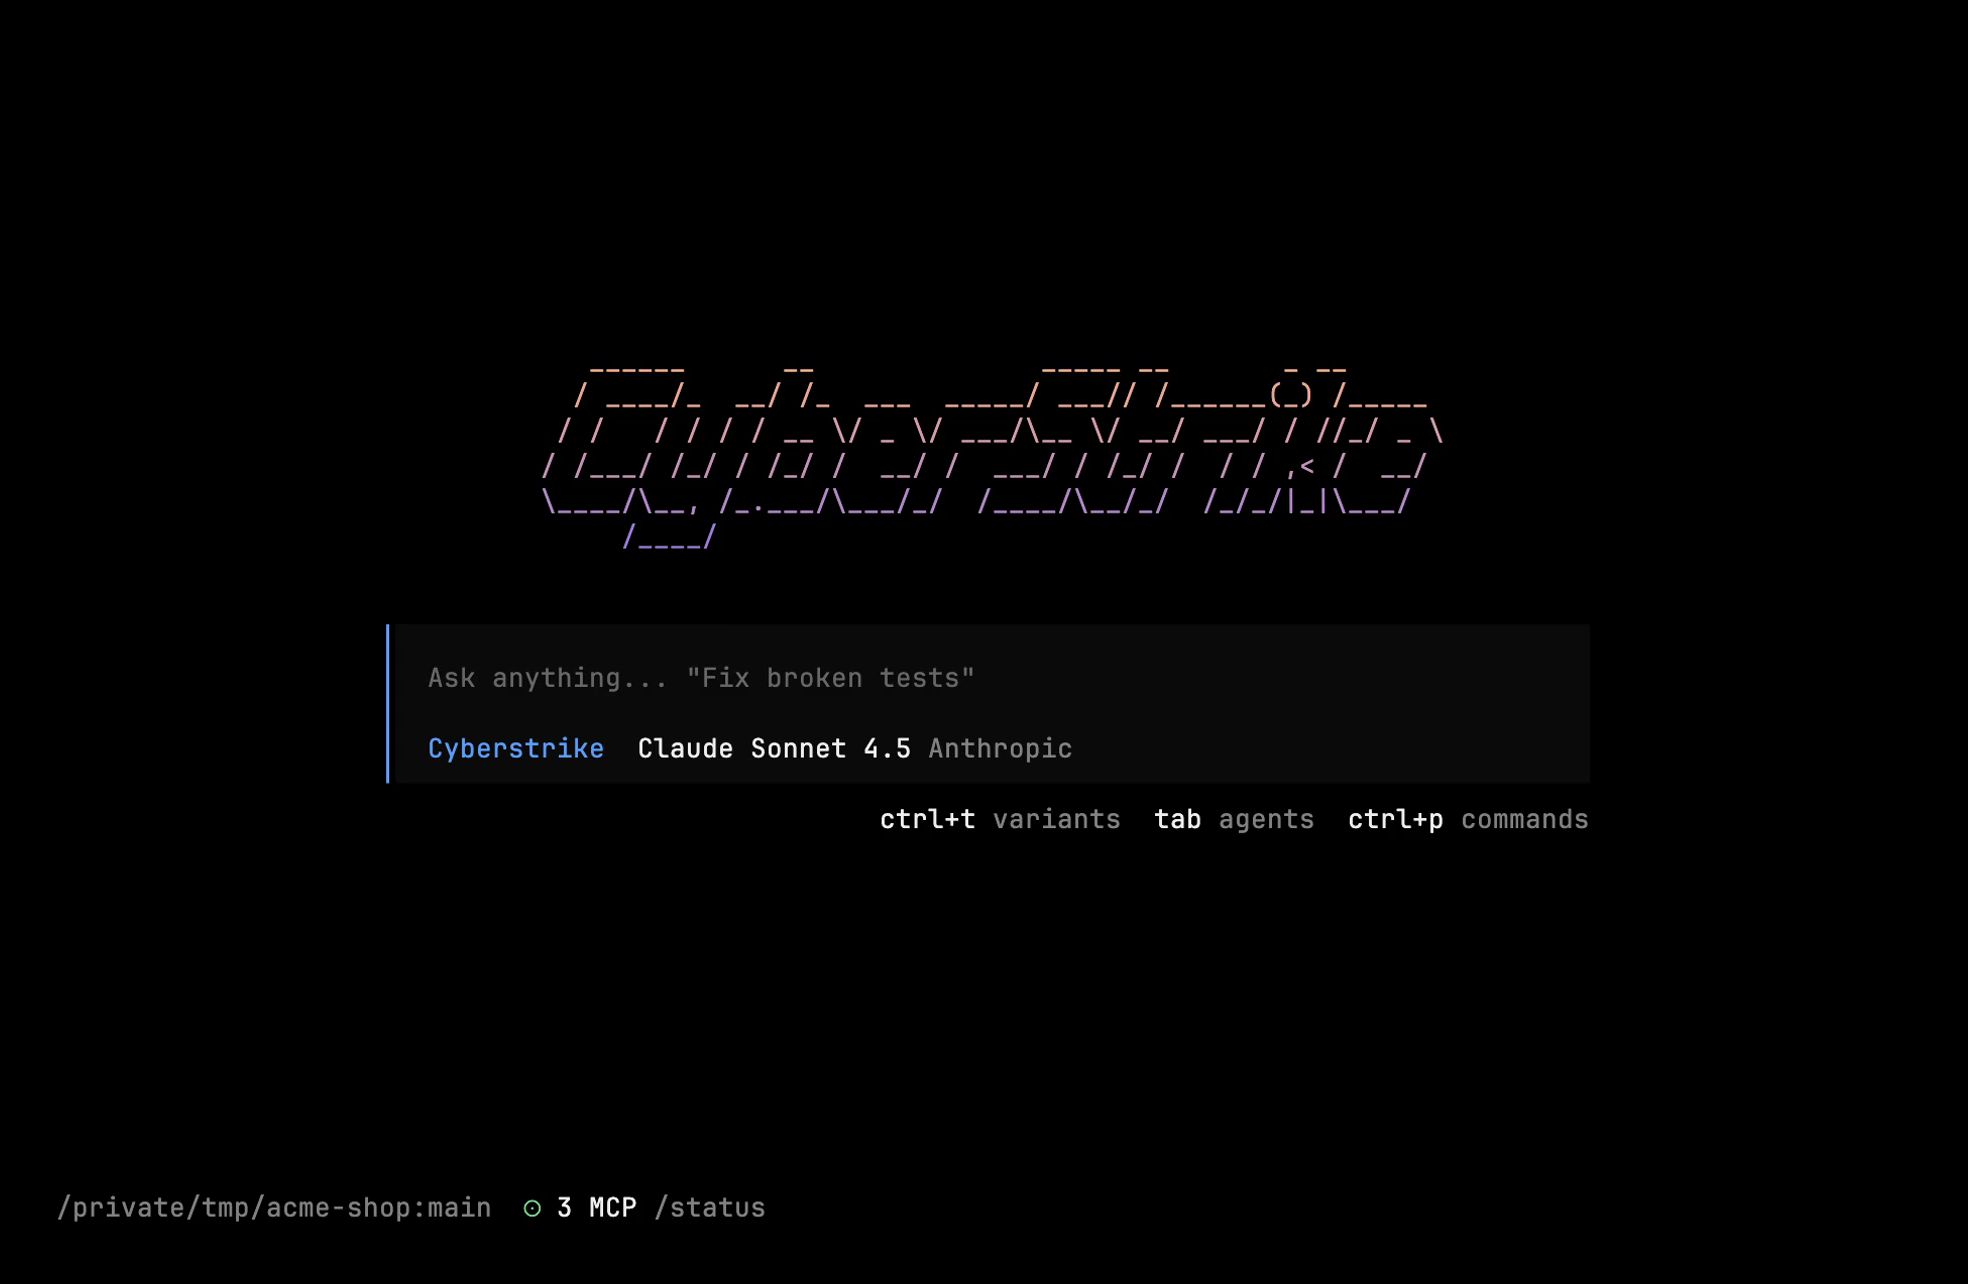
cd /path/to/targetcyberstrikeThe terminal user interface (TUI) appears with:
- Input prompt at the bottom
- Response area in the center
- Status bar showing model and token usage
Executing a Quick Scan
Run a single command without entering interactive mode:
cyberstrike run "perform reconnaissance on example.com"Specialized Agents
Cyberstrike runs one primary agent — cyberstrike — which automatically delegates to specialized subagents based on the task. You don’t select these by hand; the primary agent dispatches them through its task tool:
| Subagent | Focus |
|---|---|
web-application | Web-app security (OWASP WSTG) |
cloud-security | AWS / Azure / GCP / Kubernetes (CIS) |
internal-network | Network & Active Directory |
mobile-application | Mobile apps (MASTG / MASVS) |
proxy-agent | Testing proxy-captured web traffic |
The --agent flag (and the default_agent config) selects the primary agent. Only cyberstrike ships built-in — you can define your own, see Custom Agents. Passing a subagent name falls back to the default with a warning.
Basic Configuration
Create a cyberstrike.json file in your project directory to set default options:
{ "$schema": "https://cyberstrike.io/config.json", "model": "anthropic/claude-sonnet-4-20250514"}When you run cyberstrike in this directory, it automatically loads these settings. The example above uses Claude Sonnet as the default AI model, so you don’t need to pass --model every time. The cyberstrike agent runs by default and delegates to specialized subagents as needed.
Configuration Hierarchy
Cyberstrike loads configuration from multiple sources in this order:
- Command line arguments (highest priority)
- Environment variables
- Project config (
cyberstrike.json) - User config (
~/.config/cyberstrike/cyberstrike.json) - Default values (lowest priority)
For detailed configuration options, see the Configuration Reference.
Keyboard Shortcuts
Learn these shortcuts for efficient navigation:
| Shortcut | Action |
|---|---|
Enter | Submit message |
Shift+Enter | New line |
Escape | Interrupt the running session |
Ctrl+P | Command list |
Tab | Next agent |
Ctrl+D | Exit Cyberstrike |
↑ / ↓ | Navigate input history |
See Keyboard Shortcuts for the full reference.
Next Steps
Continue learning with these guides:
- Configuration Reference - Customize Cyberstrike settings
- AI Providers - Configure your preferred AI provider
- Security Agents - Learn about specialized agents
- CLI Commands - Complete command reference
Tip
Join the community at Discord for support and updates.